Why Are My Crêpes Rubbery? Fix Chewy, Tough Crêpes
Find the cause of rubbery crêpes and adjust flour, mixing, heat and cooking time for a thin, flexible result.
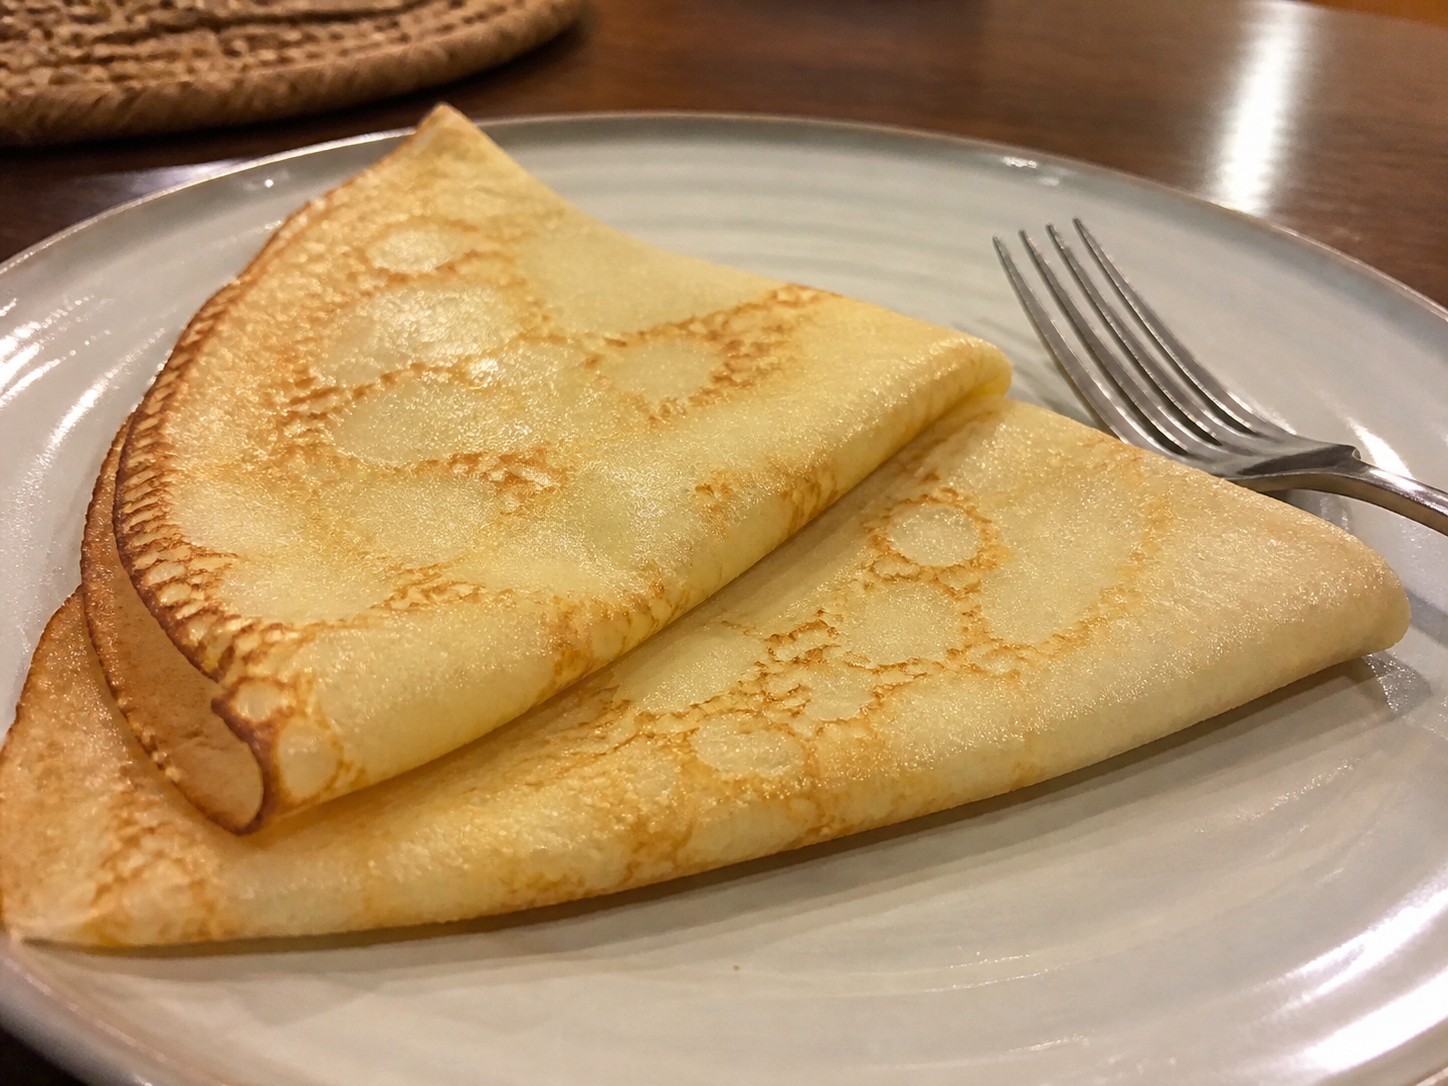
Match the symptom to the correction
| What you see | Most likely category | First safe adjustment |
|---|---|---|
| The problem starts immediately | Heat, surface or fill level | Pause and check the setup before changing ingredients. |
| The problem repeats through the whole batch | Batter balance or technique | Use one small measured adjustment, then test again. |
| Only part of the batch is affected | Airflow, pan position or timing | Compare the pattern before changing the recipe. |
Find the cause you can actually see
Too much flour
Measure carefully. If you correct a thick batter, use small additions of liquid and cook one test crêpe before changing it again.
The batter was mixed for too long
Whisk until smooth, then stop. A short rest can help the flour hydrate without more mixing.
The pan is too cool
Low heat extends the cook and dries the thin sheet. Increase heat modestly; the crêpe should set without browning aggressively.
The crêpes are overcooked after flipping
The second side needs only enough time to finish. Remove it when it is set, not when it becomes dry and deeply colored.
A better next batch
Set up the pan or appliance, ingredients and serving surface before you begin. That keeps the useful corrections small: you can preheat fully, use a measured amount of batter, and observe the first item without rushing. Once the first item gives you a reliable cue, repeat that cue for the rest of the batch.
Do not treat a single imperfect item as proof that the whole recipe is wrong. The first portion often reveals the real condition of the pan, oven or appliance. Use it as information, then make one calm change rather than rebuilding the entire method.
Do not make the problem worse
The fastest-looking fix is often the one that hides the clue. Avoid changing heat, ingredient amounts and timing all at once. A result can improve by accident, but you will not know which part of the method to repeat. Keep the rest of the recipe and equipment unchanged while you test one adjustment.
Also avoid forcing a fragile item out of a pan, iron or liner. When food resists release, let it finish setting or cool as the method requires, then use a soft, broad tool. Scraping hard can damage a nonstick surface and turn one imperfect batch into a repeating equipment problem.
Use a small, readable test
Make one test portion after the correction, not an entire new batch. Watch the moment the batter meets the surface, the way it spreads, the time it takes to set and the final texture. Those observations are more portable than a precise number of minutes because different pans, ovens and appliances deliver heat differently.
If the new item improves only partly, use the remaining symptom to choose the next correction. For example, better color with poor texture suggests the heat change helped but the batter or hold time still needs attention. This one-variable approach turns troubleshooting into a repeatable method rather than a collection of guesses.
When recipe directions should lead
This page helps interpret a symptom; it does not replace the recipe’s food-safety, temperature or ingredient guidance. If a recipe calls for a different pan, a rest or a specific bake temperature, begin there. Use the visual cues here to decide whether your particular equipment needs a small adjustment around that documented method.
Frequently asked questions
Should I change everything at once?
No. Make one correction, then use one test portion. Changing heat, ingredients and timing together makes it impossible to tell what solved the problem.
How do I know the fix worked?
Look for the visual cue described in the guide first, then judge texture. Appliances and recipes vary, so a single exact time is less useful than a clear sign of readiness.
When should I stop troubleshooting and use a different pan or tool?
If the same issue persists after correct heat, clean surfaces and a recipe-consistent batter, inspect the pan or appliance for worn coating, warped surfaces or uneven heat.