MUFFIN STORAGE · FREEZER GUIDE · UPDATED AUGUST 2026
How to Freeze Muffins Without Soggy Tops or Freezer Burn
A practical freezing plan for homemade muffins: when to pack them, how to protect the tops, and which thawing method fits the texture you want.
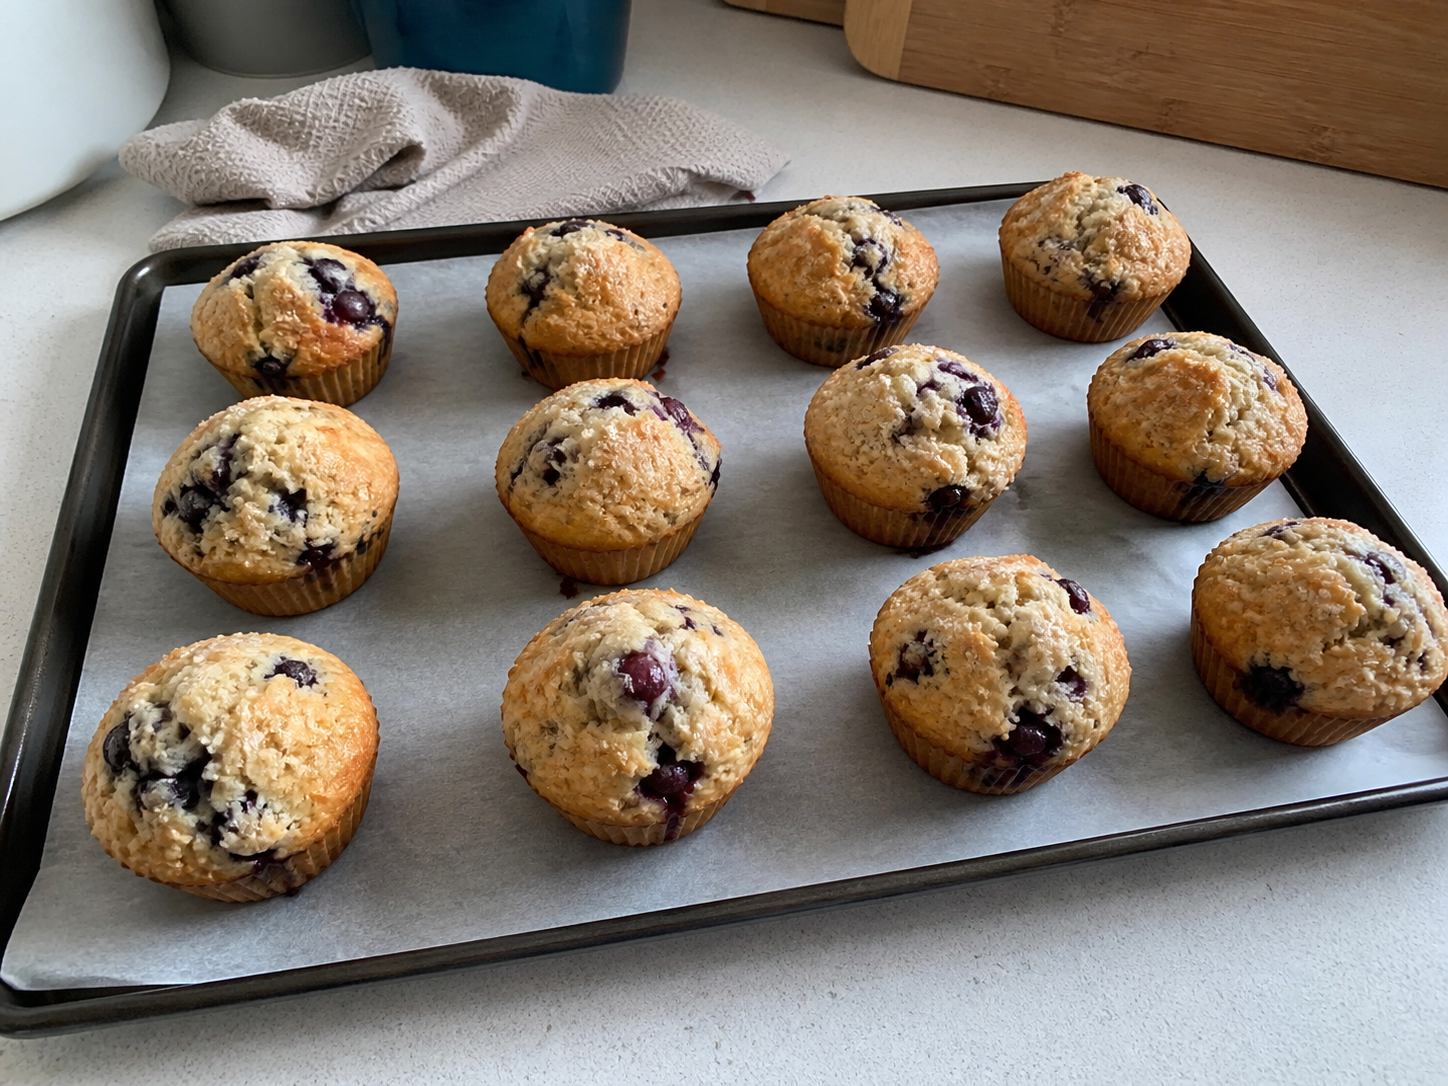
Choose the method that fits what you have
| Your starting point | Best next move | Why |
|---|---|---|
| Still warm | Do not pack yet | Steam will become trapped moisture |
| Cooled, eating soon | Freeze individually or in a shallow layer | Prevents sticking and makes portions easy |
| Frozen, want a crisp top | Use oven or toaster oven | A microwave warms fastest but softens the surface |
A practical step-by-step method
- Transfer baked muffins from the pan to a wire rack and let them cool fully. The center must no longer feel warm; sealing warm baked goods traps steam and changes the top texture later.
- Arrange cooled muffins on a tray so they do not touch. Freeze until firm. This pre-freeze step makes it easier to pack them without crushed crowns or torn paper liners.
- Move firm muffins to a freezer-safe container or bag. Use parchment between layers when the tops are sticky, glazed, or heavily streuseled. Press out excess air without flattening them.
- Label the container with the variety and date. For quality, use the muffins within a sensible short freezer window rather than treating freezing as indefinite storage.
- For a single soft muffin, thaw at room temperature or warm briefly with a cover. For a drier, bakery-style surface, warm it gently in an oven or toaster oven.
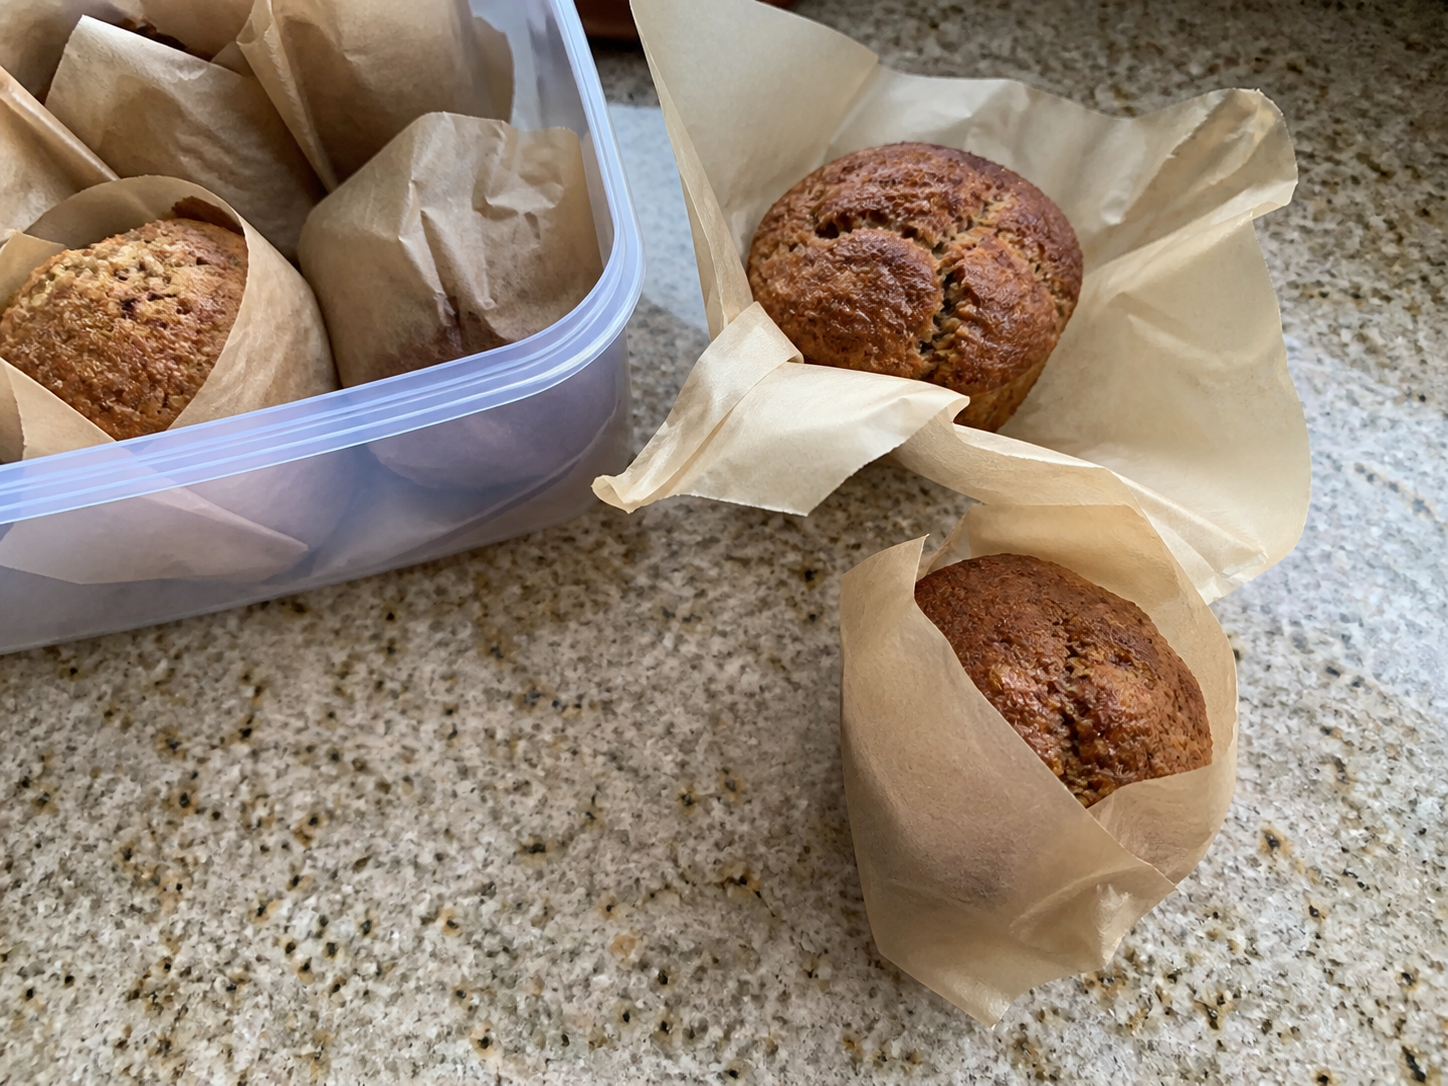
Why small adjustments matter
A practical freezing plan for homemade muffins: when to pack them, how to protect the tops, and which thawing method fits the texture you want. The useful part is not an overconfident universal rule: flour absorption, pan heat, moisture, sugar level, appliances and serving time all change the result. Start with the least aggressive correction, then use visible cues—set edges, a dry surface, a light interior, or a stable batter—to decide whether another change is necessary.
For a repeatable result, change one variable at a time. That approach makes it easier to identify the cause rather than creating a new problem with several fixes at once. It also keeps the page useful when the reader is working with a different recipe, brand, oven or portion size.
Common questions
Can I make this ahead?
Prepare only the parts that benefit from waiting. Keep the final texture step—crisping, reheating, freezing or folding—close to serving when possible.
What if my result still looks different?
Use the decision table and the visual cue in the method before changing the whole recipe. A small adjustment is easier to evaluate and less likely to create a dry or tough result.
Which related guide should I read next?
Choose the related page that matches the exact problem you have: storage, reheating, batter consistency, or the final cook.